image #1 image #2 image #3 { overlayOpacity: 0.6, resizeTransition: Fx.Transitions.Elastic.easeOut, captionAnimationDuration: 0, counterText: "Image {x} sur {y}", closeKeys: [27, 70], nextKeys: [39, 83] } _

Tuesday, May 22, 2012

Hard Surface and Environment work from MODO


The beginning of UV mapping and layout.  I am trying to make sure there is no stretching or distortion in this one.


Another environment that I am working on.  This one poses its own set of new challenges with perspective and lighting.  


Just a quickly modeled and textured ship for practice.
Fast attack fighter.


Heavy transport ship with light armor and guns.


Tuesday, December 13, 2011

Photo Realistic composite test


Here is my first attempt at a 3d-photorealistic composite done in modo and photoshop.


I am working on honing my skills in product design.  This is a pretty cool idea for a golf cooler.  More to come with all kinds of sports.


An old school 1960's style microphone I wanted to mess around with. I am really liking the textures and materials from Modo's PAD kit and the SLIK lighting kit.  


Wednesday, November 9, 2011

Tank texturing project


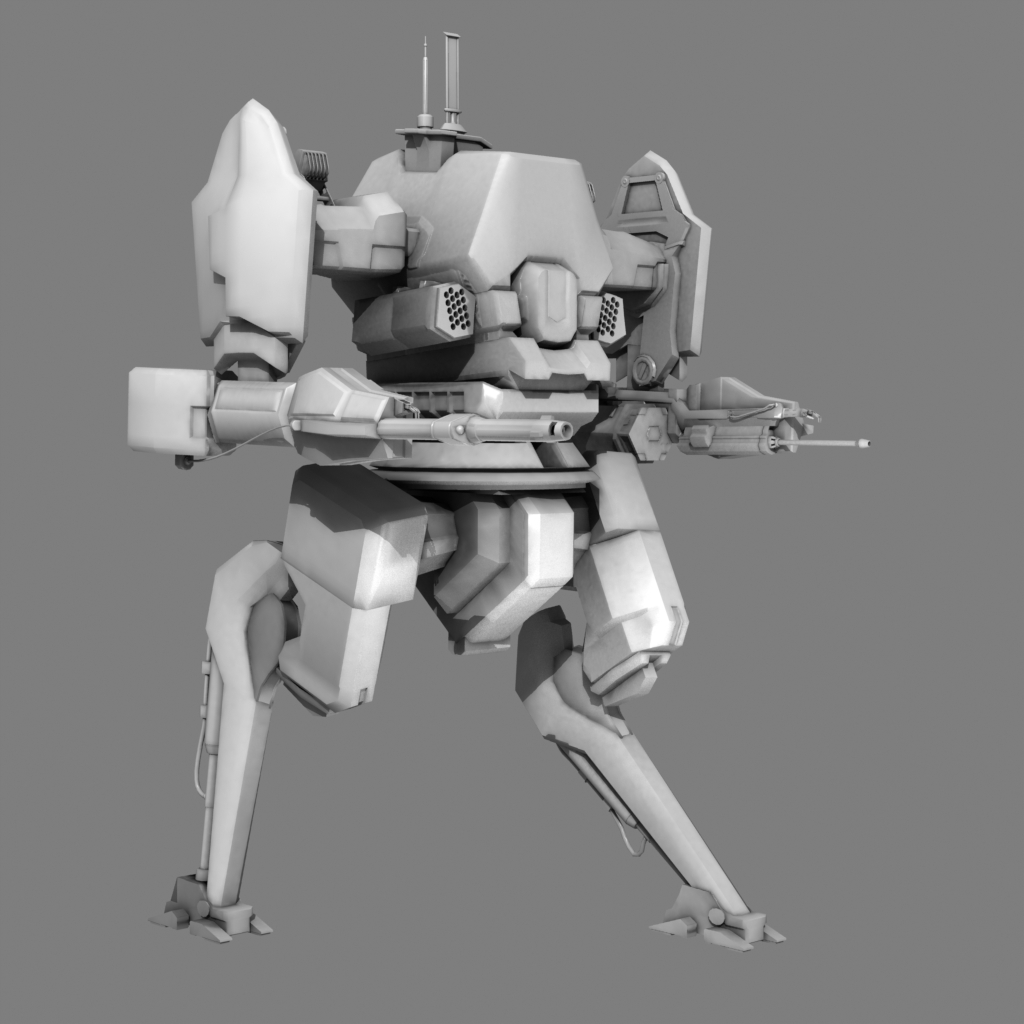
Here is my next texturing project.  I built this model a while back but haven't gotten the chance to texture it yet.


A screen shot of my wip.  I'm working on the UV's but there is just not enough hours in the day.  I'll get loads more done this weekend.


Pretty much done uv maping but I still have a lot of duplicates to remove and arrange the uvs.


Finally done uv maping and starting textures.  AO and Normal maps are done now time for paint and polish.


Just a bit of quick texture work.  I like the digital camo look.  I am thinking with a little more work, this scheme will look pretty sharp.


Here it is with a little more work done to it.  There is a lot you just can't see from this angle but I liked the render.  More to come...


Here is the final piece with a break down of all the maps used.  Below are individual renders of the textured model.


Lighting here seemed too intense so I knocked it back a little in photoshop by taking the older render and placing it under the render where I baked the lighting into the texture map and I knocked back the opacity a little so you could see some of the original render.  I came up with the next image.


This is the render that has the lighting baked into the texture map but tweeked in photoshop.

Monday, October 10, 2011

Mech Texturing WIP


AO map applied.


Normal map applied.


Simi finished render here.  A little more time and I think I could get it looking a little better.


Here is the concept art for my next project.  This is an image I found online and is not my original artwork. The artist is unknown. 

Thursday, May 26, 2011

Creature Design


Here is my creature after it has been retopped.  This is a simplified mesh for proper loops and geometry for animation.  The high res mesh has not been projected on this model.


This was a creature I created from the ref pictures below.  The original artist is Jordu Schell from Schell Studios.  This was a 48 hour art test but due to my schedule conflicts, I only had about 12 hours total of work time on it.  

Here is a link to Schell's website.  Please take a look at this man's inspiring work!
schellstudio.com


Here is another one of my sculptures.  This one was the first Zbrush work I have done in a while but I wanted to try to knock out a fast sculpt just to keep up with my skills.  This model was done in about an hour or so from a simple sphere.  No retop yet. More to come.

Thursday, May 5, 2011


A more detailed render of my creature design.  


These were some really quick designs I came up with. 

My fish head man.  This ZBrush sculpture is from a design I drew up from photoshop.  It is still a work in progress but I am liking the concept.